

Making Outdoor Heaters That Don’t Suck to Fix
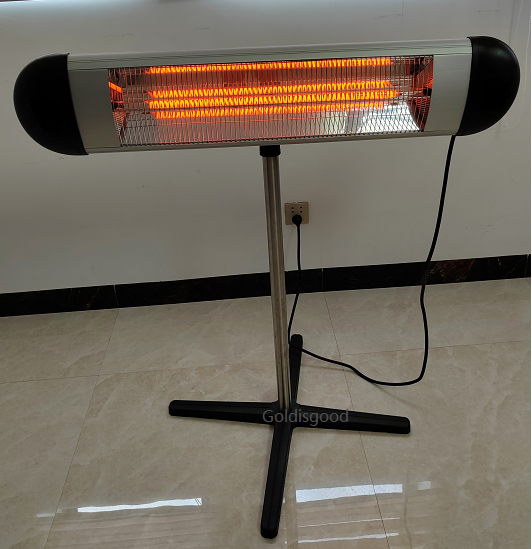
When you put an infrared heater outside, you’re basically declaring war on the elements. It’s not just the cold—it’s the humidity, the salt air if you’re near the coast, and just plain old dust getting into everything. We build our units to IP66 standards to keep the guts dry. But here’s the catch: when you seal something that tightly, maintenance usually becomes a total nightmare.
The “Disposable” Problem
Most waterproof heaters are built as one giant, sealed block. That’s fine until a heating tube burns out five years down the road. Suddenly, you’re staring at a disaster. You either have to rip out the entire chassis or spend half a day wrestling with stubborn gaskets and messy silicone seals. It’s a waste of time. And if you’re paying a technician by the hour, it’s a waste of a lot of money.
The Quick-Swap Fix
We decided to do things differently. Instead of hard-wiring the heating element into the main body, we put it in its own slide-out module. It’s pretty simple. If a tube goes, you don’t have to dismantle the whole IP66 enclosure. You just unlock the module, slide it out, and pop in a new element. We use standard connectors, so the new part just drops right in. It turns a four-hour headache into a ten-minute job.
The Trade-offs (Because nothing is perfect)
Making a seal that’s both waterproof and easy to remove is a tough balancing act. To make this work, we use high-compression EPDM gaskets. They do the job, but you have to be careful with the torque when you lock them back in. If you’re too loose, moisture leaks in. If you crank it too hard, you’ll crack the quartz tube. It takes a little finesse, but it’s worth it. We designed these for the long haul—places where sending a tech out for a site visit costs way more than the actual hardware. By focusing on a quick “swap-out” rather than a tedious repair, we make sure your space stays warm without the drama.